Acrylic photo blocks have become one of the most popular personalised gifts in the UK, and it is not hard to see why. They look expensive, they display beautifully on any surface, and they turn an ordinary photo into something worth keeping. The question most people arrive at fairly quickly is this: can you make one yourself, or is it better to order professionally?
The short answer is both options work. But they produce very different results.
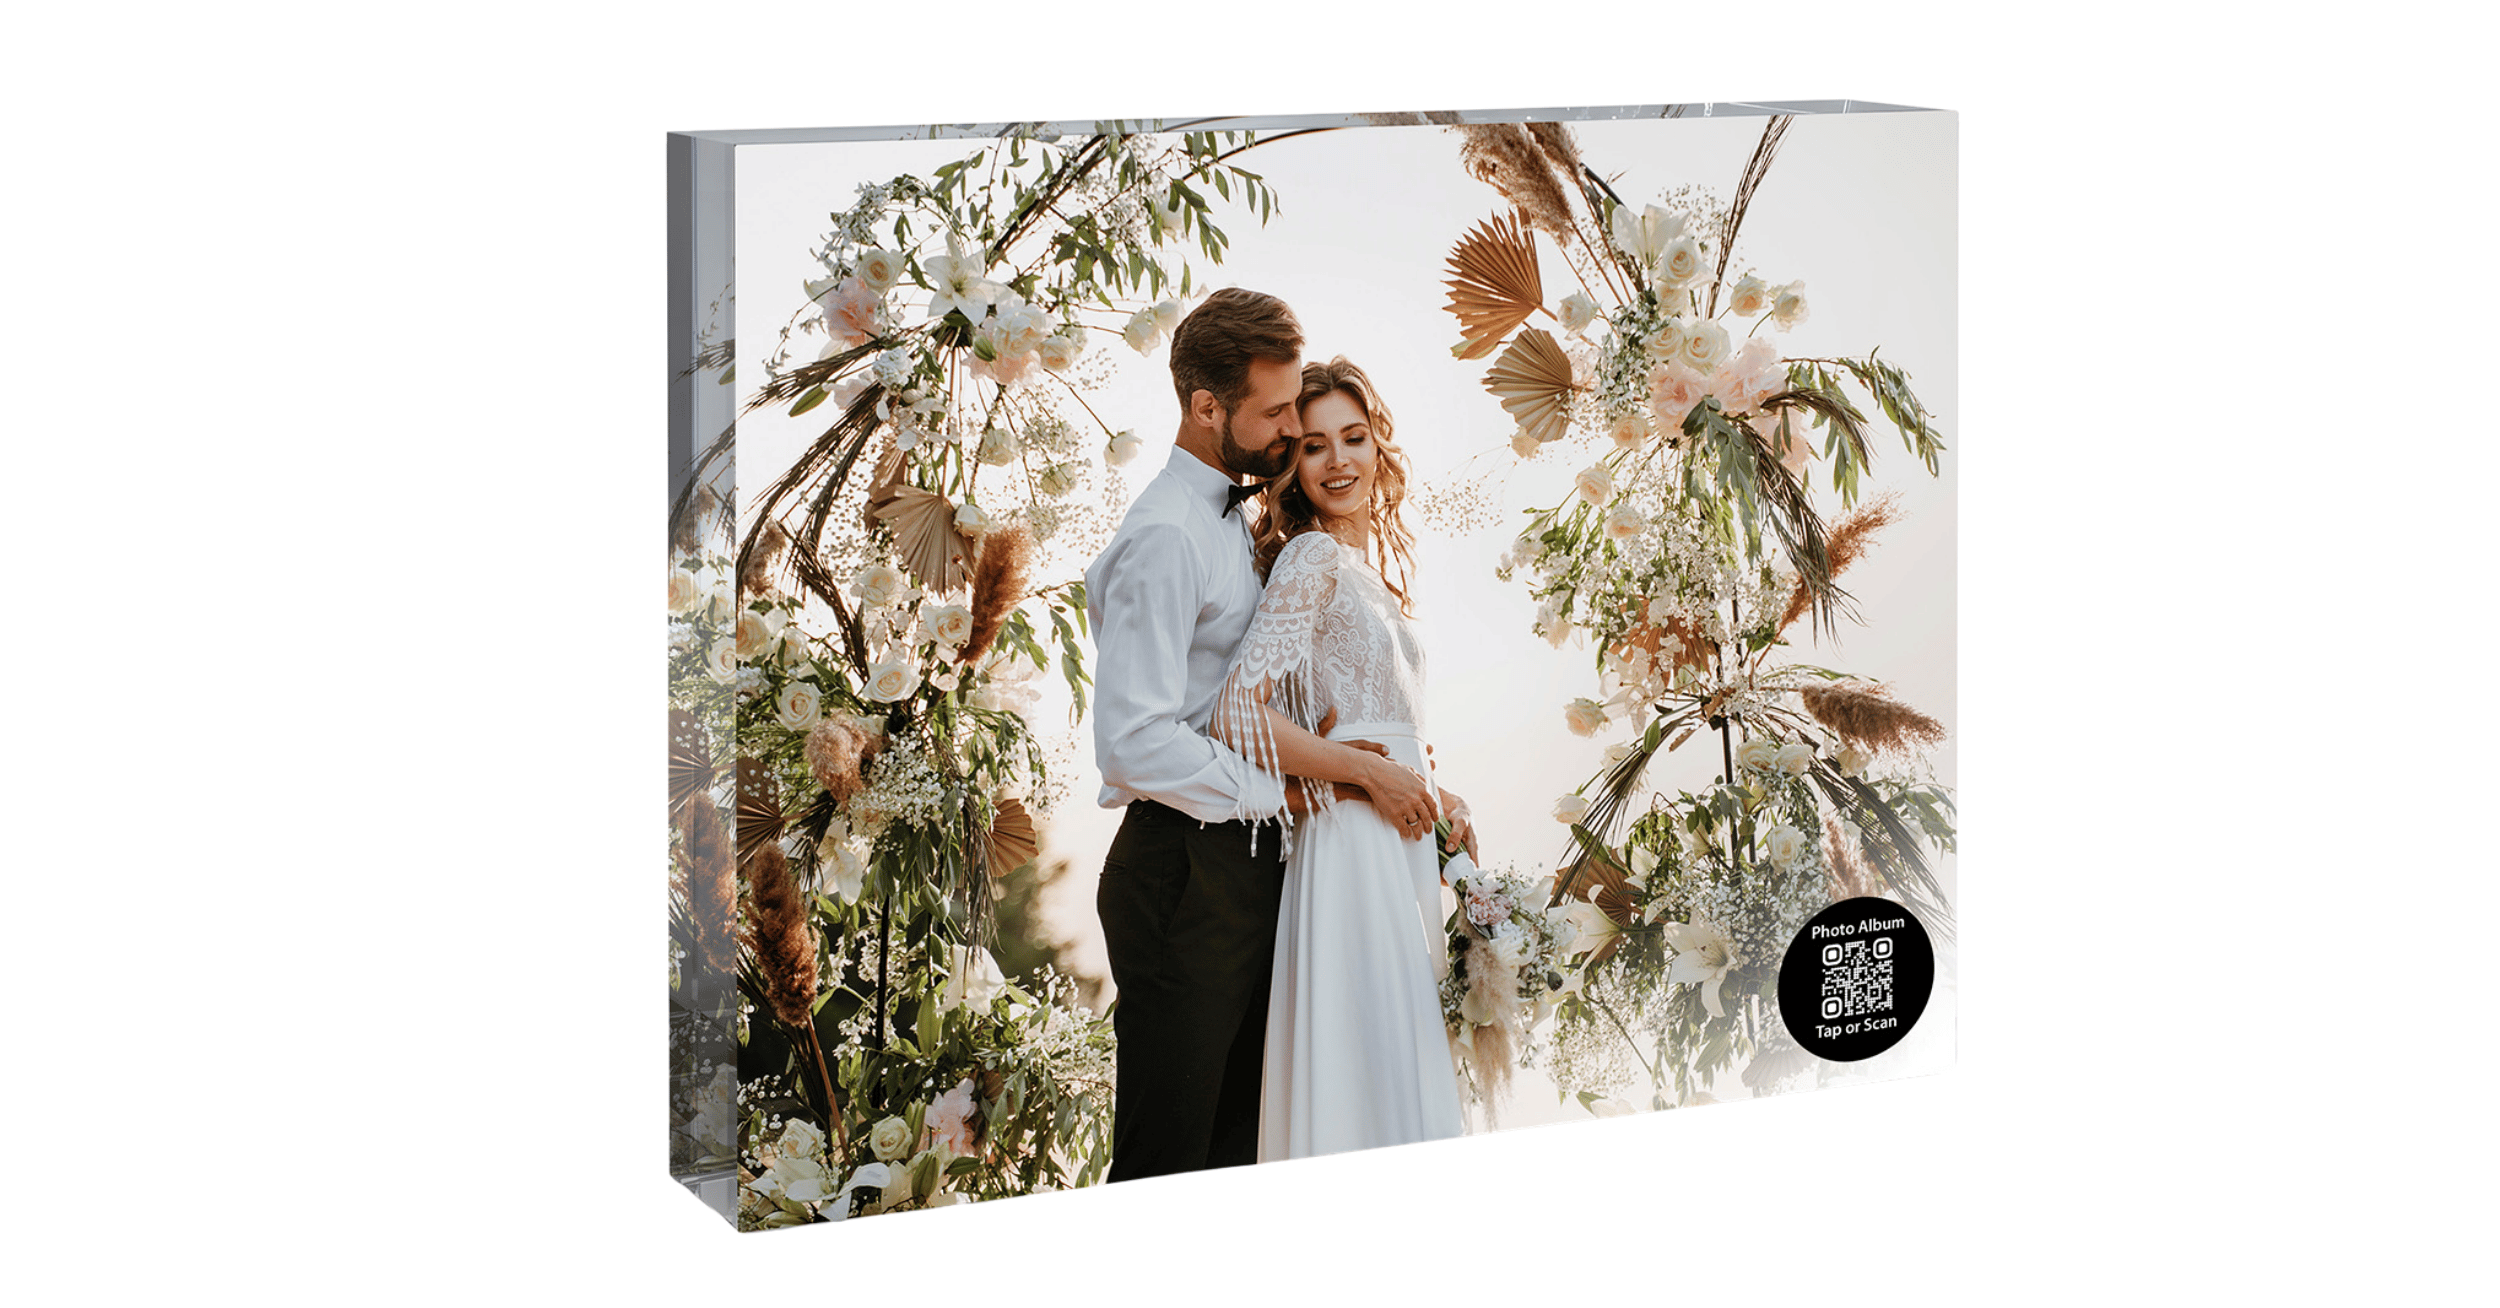
An acrylic photo block is a solid, free-standing display piece created by mounting or printing a photograph onto or behind a clear acrylic panel. The thick acrylic refracts light around the image, giving it a depth and vibrancy that a standard print behind glass cannot replicate. A smart NFC acrylic photo block adds an embedded chip to this format, so tapping it with a smartphone opens a video, gallery, or digital memory instantly.
Knowing how to make acrylic photo blocks properly, whether at home or through a professional service, changes the quality of the final result significantly. The method you choose determines the colour depth, the durability, and whether the block does anything beyond displaying a single static image.
At TapiLink, we produce the smart version. Our Acrylic Photo Block combines optical-grade acrylic printing with an embedded NFC chip and QR code, so the memory it holds can grow long after the block leaves our hands.
In this blog, we'll cover the full DIY process step by step, the honest limitations of making one at home, and why a professionally produced NFC block is worth considering for any photo that genuinely matters.
What Is an Acrylic Photo Block?
An acrylic photo block is a solid, frameless display piece with a photograph printed onto or mounted behind a panel of clear acrylic glass. No hanging. No frame. No wall damage. Place it on a shelf, a desk, or a mantelpiece and it sits there, completely self-supporting, with a depth and clarity that a standard framed print simply cannot match.
The acrylic does something interesting to the image behind it. Light enters the panel from multiple angles and refracts around the photograph, making colours appear more saturated and the image look almost three-dimensional. The thicker the acrylic, the more pronounced the effect.
That quality is why acrylic photo blocks have become a go-to personalised gift in the UK over the past several years. They suit almost any occasion and almost any home.
Why Acrylic Photo Blocks Look Better Than Framed Prints
A framed print puts a layer of flat glass over a photograph. The glass protects the image but adds nothing visually. The photo looks exactly as it did before it was framed.
Acrylic works differently. The material itself becomes part of the display. At 20mm or more of thickness, the acrylic creates genuine visual depth. The image appears to float inside the block rather than sit on the surface of it. Polished edges catch the light from the sides, adding a subtle glow that frames the image without any physical frame at all.
The result looks more like an object than a print. That is why people keep them.
What You Need to Make an Acrylic Photo Block at Home
Before starting the DIY process, gather everything you need. Stopping halfway to find a missing material is the most common reason a homemade block ends up looking rushed.
The Basic Materials List
Four things are needed for the standard home method:
- Clear sticker paper (inkjet-compatible, shiny finish). Available from most craft shops and online retailers in the UK. Silhouette brand is widely used and works reliably with standard inkjet printers.
- An inkjet printer set to the highest quality output available. Laser printers do not work for this method as the toner does not bond to the sticker paper surface in the same way.
- An acrylic stamp block. These are sold in craft shops and on Amazon, typically in 4x6 inch format. They were originally designed to hold clear rubber stamps, but the flat acrylic surface works well as a photo display base.
- Trimming tools. A sharp craft knife or precision scissors and a cutting mat. Clean edges make a significant difference to the finished result.
That is the full list for the basic method. Total cost is usually under £15 if you already own an inkjet printer.
Optional Upgrades for Better Results
The basic method works. These additions improve the finish:
- Optically clear mount film such as Drytac Facemount. This is a pressure-sensitive adhesive film with a clear polyester liner on both sides. It bonds the printed image to the acrylic with no visible adhesive layer, producing a result closer to a professional face-mount finish.
- A squeegee tool or laminator. Applying the image by hand risks trapping air bubbles under the surface. A squeegee or a pass through a laminator removes them cleanly.
- A static wand or clean tack rag. Acrylic attracts dust. Any particles trapped under the image are visible in the final block. Cleaning the surface immediately before application reduces this significantly.
None of these are essential for a quick gift. All of them matter if the finished block needs to look genuinely professional.
How to Make an Acrylic Photo Block Step by Step
The full process takes between 20 and 40 minutes depending on your materials and how carefully you work. Rushing the drying and trimming stages is where most DIY blocks go wrong.
Step 1: Choose and Prepare Your Photo
Start with the right image. Acrylic rewards high-contrast photographs with vivid colours and a clear subject. According to Shutterfly's photo printing guidance, bold and dynamic images with heavily saturated colours produce the best results on acrylic because the material amplifies contrast rather than softening it.
For a standard 4x6 inch block, aim for a minimum resolution of 1800x1200 pixels. Most photos taken on a modern smartphone meet this requirement easily. Problems arise with screenshots, images downloaded from social media at low resolution, or scans of older prints where the file size is under 1MB.
Check your file size before printing. A photo under 500KB is almost certainly too low resolution for a clean acrylic finish at this size.
Crop the image to match the proportions of your block before printing. A 4x6 block needs a 4x6 crop. Printing without cropping first often results in white borders or a misaligned image on the final block.
Step 2: Print Your Photo onto Clear Sticker Paper
Load the clear sticker paper into your inkjet printer with the shiny side facing the correct direction for your printer model. Check the manufacturer's guidance if you are unsure — printing on the wrong side produces a faded, smeared result that cannot be fixed.
Set the printer to the highest quality output available. Photo or premium quality settings work best. Standard or draft mode produces visible banding on acrylic that is far more noticeable than it would be on paper.
Once printed, leave the image to dry completely before handling. Inkjet ink on sticker paper takes slightly longer to dry than on standard photo paper. Five to ten minutes is usually enough. Touching the printed surface before it is fully dry smears the ink and ruins the image.
Step 3: Trim and Apply to the Acrylic Block
Trim carefully around the printed image using a craft knife and cutting mat or sharp precision scissors. Take your time here. Ragged edges are the most visible flaw in a finished DIY block and cannot be fixed after application.
Clean the acrylic surface immediately before applying the image. Use a lint-free cloth and remove all dust and fingerprints. Acrylic carries a static charge that attracts particles from the air, so clean it right before you apply, not five minutes before.
Peel the backing from the sticker paper slowly and evenly. Starting from one corner, align the image carefully to the block surface before pressing down. Once contact is made, the adhesive grips immediately and repositioning is difficult without tearing the print.
Press from the centre outward using a squeegee, a flat card, or the edge of a ruler. Work slowly and consistently to push any trapped air toward the edges.
Step 4: Finishing and Display
Once applied, press the entire surface firmly one more time with a clean cloth. Check the edges for any lifting and press them down if needed.
Handle the finished block by the edges only. Fingerprints on the acrylic surface are difficult to remove without scratching if you use the wrong cloth. A soft microfibre cloth and a small amount of plain water is all that is needed for cleaning. Never use ammonia-based cleaners or kitchen roll on acrylic.
Display in indirect light for the best visual effect. Direct sunlight accelerates fading on DIY versions significantly faster than on professionally printed blocks.
The Honest Limitations of DIY Acrylic Photo Blocks
The DIY method works. That is worth saying clearly. But it has a quality ceiling that no amount of careful technique can fully overcome.
Print Quality vs Professional Production
A home inkjet printer deposits ink onto the surface of the sticker paper. A professional UV printer fires ink directly into the acrylic surface itself, or face-mounts a professionally developed photograph behind optical-grade acrylic using a pressure-sensitive clear adhesive. The depth effect from a 25mm professionally produced block is simply not replicable at home with a stamp block and sticker paper.
Colour is the most obvious difference. Professional acrylic blocks use optical-grade material that is completely clear with no visible tint. Most craft acrylic stamp blocks have a very slight blue or grey cast that affects how colours render, particularly in skin tones and warm-toned photographs.
The difference is noticeable side by side. It is less noticeable if you have never seen a professionally produced block.
Durability and Longevity
The adhesive used in clear sticker paper is pressure-sensitive but not permanent in the archival sense. In warm rooms, particularly those that heat up in summer or sit near radiators, the adhesive can soften and the image can begin to lift at the edges within months.
A professionally produced acrylic block using optical mount film and a laminator produces a far more durable bond. Professionally printed blocks kept indoors in normal conditions hold their colour and adhesion for a decade or more.
For a quick Father's Day gift made the night before, the DIY method is fine. For a photo of someone's wedding, a child at a particular age, or a person no longer living, it is worth thinking carefully about longevity.
The Professional Alternative: Ordering a Smart Acrylic Photo Block
There is a third option that most people searching for how to make acrylic photo blocks have not yet encountered. And it changes what the finished block can actually do.
Ordering a professionally produced acrylic photo block removes the quality ceiling of DIY entirely. Optical-grade acrylic, professional print quality, polished edges, and a result that lasts. But ordering from TapiLink adds something no standard print service offers.
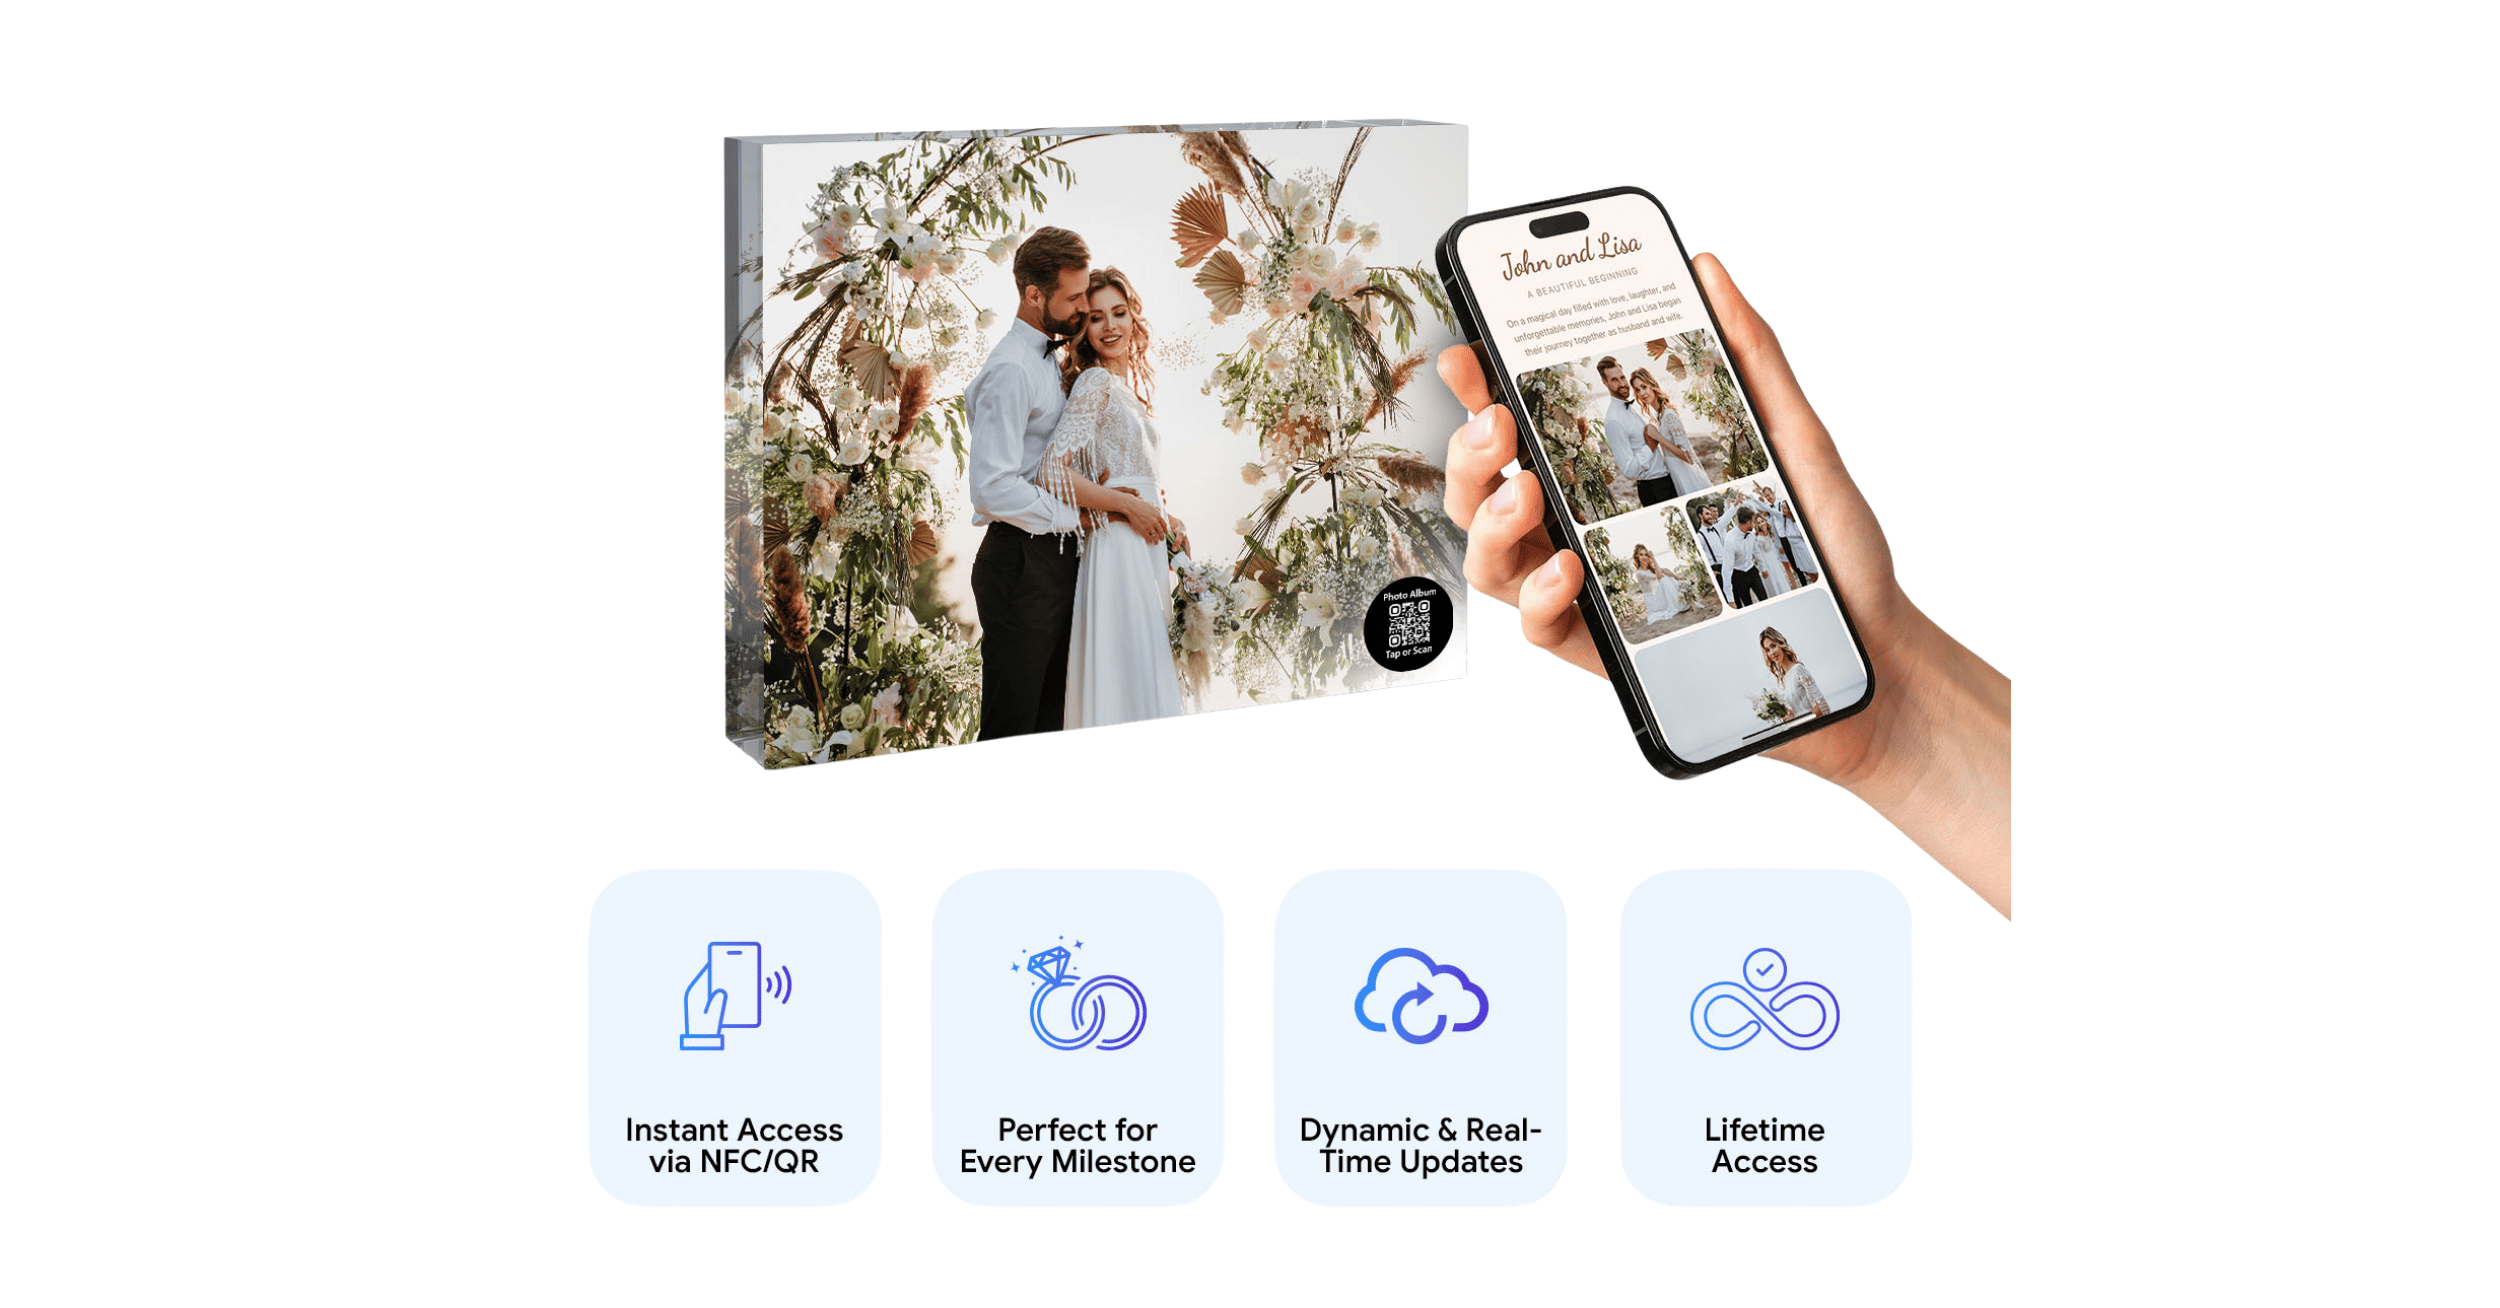
Our Acrylic Photo Block is not just a printed block. Inside the acrylic sits an NFC chip and a QR code. Tap the block with any modern smartphone and it opens a linked digital destination instantly. No app needed. No login required. The whole thing takes two seconds.
Browse the full range on our Photo Block collection and choose the material and format that fits the occasion.
What Is an NFC Acrylic Photo Block?
NFC stands for Near Field Communication. It is the same technology used in contactless bank card payments. The chip inside the block holds a link. When a phone comes within a few centimetres of the surface, it reads that link and opens it automatically.
That link can point to anything. A YouTube video. A shared photo album. A wedding highlight reel. A tribute page for someone who has passed. A digital profile with contact details and a personal message. The block itself displays one photograph. What it connects to can be as deep and detailed as you want.
And here is the part that separates it from every other option. You update the linked content anytime from any device. The block never needs to be remade. The memory it points to can grow for years.
DIY vs Professional NFC Block: What Is the Real Difference?
DIY acrylic photo block:
- Low cost, quick to make at home with basic materials.
- Quality limited by home printer and craft acrylic.
- Adhesive can lift over time, particularly in warm rooms.
- Displays one static image. Cannot be updated or linked to any digital content.
- No smart features of any kind.
TapiLink NFC Acrylic Photo Block:
- Professionally produced using optical-grade acrylic and quality print methods.
- Vivid colour depth and polished edges that a home printer cannot replicate.
- Durable bond that holds for years in normal indoor conditions.
- Tap with any smartphone to open a video, gallery, tribute page, or profile instantly.
- Update the linked content anytime without reprinting or replacing the block.
- Free custom design support included. No subscriptions. Next-day UK delivery available.
Tips for Getting the Best Results from Any Acrylic Photo Block
Whether you make one at home or order professionally, a few decisions at the photo selection and display stage make a meaningful difference to the final result.
Which Photos Work Best on Acrylic?
Three qualities predict how well a photo will look on acrylic: contrast, colour, and sharpness.
High contrast images, where the subject is clearly separated from the background, print with impact on acrylic. The material amplifies contrast rather than softening it, so a photo with strong light and shadow looks dramatic. A flat, evenly lit photo looks flat on acrylic too.
Vivid colour photographs tend to look exceptional. Blues, greens, and warm skin tones in good natural light all benefit from the depth effect acrylic creates. Black and white photography also works well, particularly for memorial and milestone gifting where a classic feel suits the occasion.
Avoid heavily filtered social media photos. The processing that looks good on a phone screen often looks artificial when printed at size. Heavy vignetting, faded tones, and oversaturation all print poorly on acrylic. Use the original, unfiltered version wherever possible.
Where to Display Your Acrylic Photo Block
Indirect natural light brings out the depth effect best. A shelf opposite a window, a desk that catches morning light, or a mantelpiece with ambient lamp light nearby all work well.
Direct sunlight is the enemy of DIY blocks in particular. UV exposure fades the ink on sticker paper significantly faster than it affects a professionally UV-printed block. If the block will sit in a south-facing room with strong direct sun, a professional version will hold its quality far longer.
Clean the acrylic surface with a soft microfibre cloth only. Avoid kitchen roll, which scratches acrylic over time, and any cleaner containing ammonia or alcohol, which clouds the surface permanently.
Frequently Asked Questions About Making Acrylic Photo Blocks
Question: How do you make an acrylic photo block at home?
Answer: The standard home method uses clear inkjet-compatible sticker paper, an inkjet printer, and an acrylic stamp block available from craft shops or Amazon. Print your photo onto the shiny side of the sticker paper at the highest quality setting, let it dry fully, trim carefully around the image, then peel the backing and press the photo onto the clean acrylic surface from one edge outward. A squeegee or flat card helps remove air bubbles. The whole process takes around 20 to 40 minutes depending on materials and how carefully you work. The result is functional and affordable, but the print quality and durability are limited compared to a professionally produced block.
Question: What materials do you need to make an acrylic photo block?
Answer: The four essentials are clear inkjet-compatible sticker paper, an inkjet printer, an acrylic stamp block in your chosen size, and a sharp trimming tool. Optional upgrades that improve the finish include optically clear mount film such as Drytac Facemount for a stronger bond, a squeegee or laminator to remove air bubbles during application, and a static wand or clean tack rag to remove dust from the acrylic surface before applying the image. Acrylic carries a static charge that attracts particles from the air, so cleaning the surface immediately before application is worth doing every time.
Question: Can you make an acrylic photo block without a UV printer?
Answer: Yes. The professional method uses a UV printer to print directly onto the acrylic surface, but this is not available to most home crafters. Without a UV printer, the alternative is to print your image onto photo paper or tear-resistant synthetic paper, then bond it to the back of the acrylic block using an optically clear mount film. Drytac Facemount is the most widely recommended product for this. Applied with a laminator, it produces a clear, bubble-free bond with no visible adhesive layer. The result is significantly better than the basic sticker paper method, though it still does not match the colour depth of UV direct printing onto optical-grade acrylic.
Question: How long does a homemade acrylic photo block last?
Answer: It depends on the materials used and where the block is displayed. A block made with standard clear sticker paper and a craft acrylic stamp block will typically last one to three years in normal indoor conditions before the adhesive begins to lift or the colours start to fade, particularly in warm rooms or near windows with direct sunlight. A block made with optically clear mount film and kept in indirect light will last longer. Professionally produced acrylic blocks using optical-grade materials hold their colour and bond for a decade or more under normal indoor conditions. For a photo that matters long-term, the durability difference is worth factoring into the decision.
Question: What is an NFC acrylic photo block and how is it different from a standard one?
Answer: An NFC acrylic photo block is a professionally produced acrylic block with an embedded NFC chip and QR code inside it. From the outside it looks identical to a standard block. The difference is what happens when you tap it with a smartphone. The phone reads the chip and opens a linked digital destination instantly, which could be a video, a photo gallery, a tribute page, or any URL you choose. No app is needed. The linked content can be updated anytime without reprinting or replacing the block. A standard acrylic photo block, whether DIY or professionally printed, displays one image and nothing more. An NFC block connects that image to a living, updatable digital memory that can grow for as long as you want it to.
Conclusion
Making an acrylic photo block at home is genuinely possible. With the right materials, a careful process, and a good photo, the result can look impressive. But the quality ceiling of the DIY method is real, and for a photo that deserves to last, a professionally produced block is a different product entirely.
The version that goes furthest is the one with the chip inside.
At TapiLink, our Acrylic Photo Block combines optical-grade acrylic printing with an embedded NFC chip and QR code, free custom design support, and next-day UK delivery. No subscriptions. No ongoing fees. The photo on the front stays the same. What it opens when tapped can grow for years.
If you want a block that does more than sit there, browse the full range on our Photo Block collection and find the one that fits the moment.
Ready to revolutionize your networking approach? Explore TapiLink's range of premium NFC business cards and join the thousands of professionals who've already made the smart choice.